How to build a BoxPress site on Amazon AWS

Table of Contents
1.
Create Buckets
Open the AWS Management Console here:
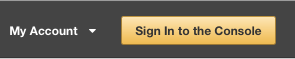
Click the Sign In to the Console button:
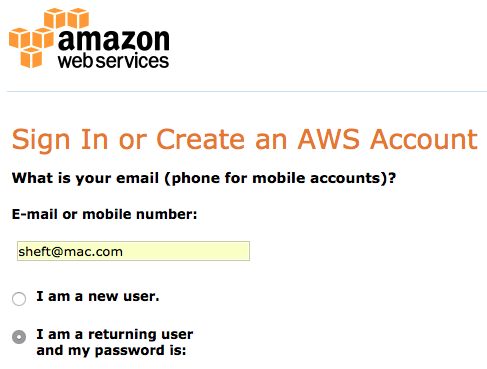
NEXT: Sign in. If you’ve used Amazon before, setup takes zero seconds since you’ll one using your normal shopping account.
On the right side of the menubar is a Region dropdown (just to the left of the Support dropdown). Be sure it has the same setting whenever location is an option. Doing this will make page loads faster. You can ignore this issue when the dropdown is entitled World.

Always use the same region.
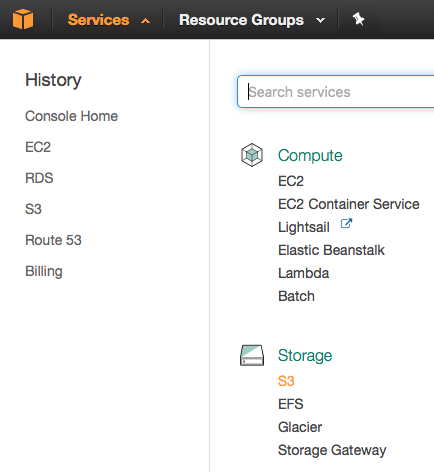
To open the S3 Dashboard, go to the menubar and select Services > S3:
You will then see the S3 Dashboard:
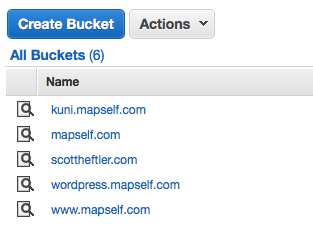
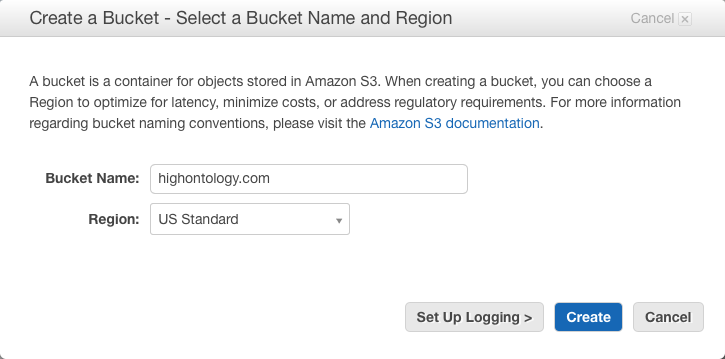
Click the Create Bucket button to create what will become the root directory of your new website. In the dialog, enter the (sub)domain you want to create and for Region select US Standard (unless you are outside the US). Then click Create.
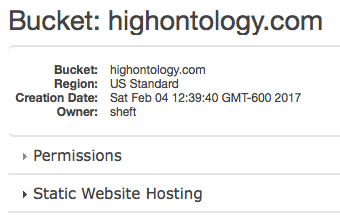
Click on the icon next to your new Bucket and then click the Properties tab in the upper right:
Now click on the Permissions line to expand the view:
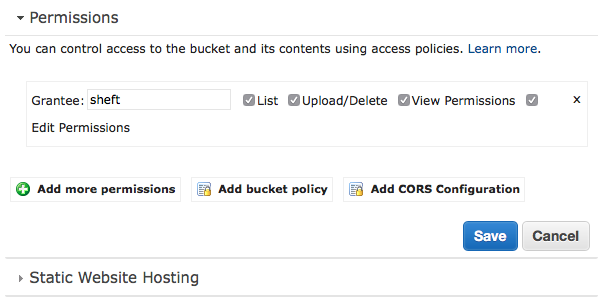
Then click on Add Bucket Policy and paste the following code, substituting the actual bucket name for your website:
{
  "Version": "2008-10-17",
  "Id": "Policy1381396654043",
  "Statement": [
    {
      "Sid": "Stmt1381396646843",
      "Effect": "Allow",
      "Principal": {
        "AWS": "*"
      },
      "Action": "s3:GetObject",
      "Resource": "arn:aws:s3:::highontology.com/*"
    }
  ]
}
Then click on the Save button.
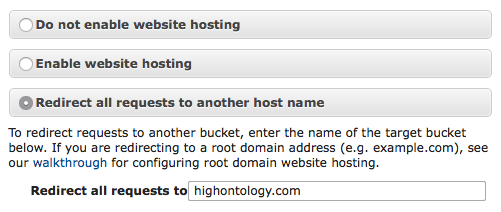
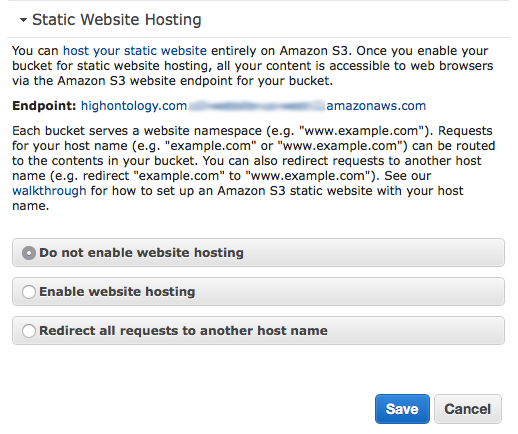
Now create an additional Bucket with the same name but with a www. prepended. Make sure this has the same region as the non-www version. Under Static Website Hosting, click the Redirect all requests to another host name radio button:
Congratulations! You have now created a Bucket for hosting a static website, and a www redirect!
2.
Create Hosted Zone and provide name server names to your registrar
To open the Route 53 Dashboard, go to the menubar and select Services > Route 53.
You need to create one Hosted Zone per domain.
Let’s create a Hosted Zone. In the sidebar, click Hosted zones:

Then click Create Hosted Zone:

Enter the Domain Name and keep the Type set to Public Hosted Zone. Then click Create.

The Name Server and Start of Authority records sets of your new Hosted Zone.
When you create it, you will see two new records with data already filled in— a Name Server recored and a Start of Authority record. Select the NS record and the Edit Record Set panel will appear:

The Edit Record panel for the Name Server record.
Inside the Value box are the domain names of your Hosted Zone’s name servers. Copy these somewhere.
Now we need info from your domain registrar. Log in to your registrar and go to the Domains control panel:

The Domains control panel of some popular Domain Registrar.
Select the Manage DNS option. This will bring you to a Nameservers panel:

The Nameservers panel.
Now take the name server domain names you copied from the Name Server record and paste them in:

The new domain names pasted in. Make sure to get rid of any hanging periods.
Then click Save. It may take a few minutes or hours before the domain name’s parent DNS servers start properly returning the name server domain names you just entered.
3.
Enable website hosting
Return to the S3 Dashboard. Click on the icon next to your Bucket and then click the Properties tab in the upper right:
Now click on the Static Website Hosting line to expand the view:
Now click the Enable website hosting radio button:

- Set Index Document to index.html
- Set Error Document to 404.html
- Click Save
4.
Make aliases to your target
Return to the Route 53 Dashboard. Click on Hosted zones, select your Hosted Zone, and then click the Go to Record Sets button:
Now click Create Record Set. We will make a same-name pointer to your Hosted Zone. The Create Record Set panel will appear:

- Set Type to A
- Click the Alias Yes radio button
- Click inside the Alias Target field. Your domain name will appear under the S3 website endpoints heading. Select it and the Alias Hosted Zone ID will autofill as well.
- Click Create
Now do the same thing for www.your.website.com redirect:
- Set Type to A
- Click the Alias Yes radio button
- Click inside the Alias Target field. Your domain name will appear under the S3 website endpoints heading. If not, you can grab it from the S3 > Static Website hosting panel. Look for the line starting with Endpoint and copy everything after the .com.
- Click Create
5.
Run Cyberduck and upload your Tinderbox export
In order to upload your BoxPress export to your Bucket, you will have to use an FTP client. Cyberduck is the best to use here since it has special handshaking options for Amazon S3 accounts.
But in order to use it, we need to copy your Security Credentials. To do this, go to your Amazon account dropdown menu (in the menubar) and select My Security Credentials:

This will take you to the Your Security Credentials screen:

Now click Create New Access Key. You will get an Access Key ID and a Secret Access Key. Put these in a separate file for easy access.
To upload files to your new BoxPress server, we will be using Cyberduck. You can download Cyberduck here:
Launch Cyberduck and go to menubar Bookmark > New Bookmark.

- The bookmark will take you to all Buckets, so you can leave the Nickname as-is.
- In the topmost dropdown, choose S3 (Amazon Simple Storage Service).
- Leave Server as it is.
- Paste in your Access Key ID.
- For convenience, enter /your.website.com as the Path. Or you can leave it at root (/) which will make your initial view an overview of all your Buckets.
- And enter http://your.website.com as the Web URL. Or leave it blank if you’re using the overview method above.
Now close the panel and click the bookmarks button (second from the left) on the main window:

All your Cyberduck bookmarks are here.
To open your website, double-click the appropriate bookmark:

Double-clicking the bookmark takes you to your website. You are now ready to upload!
Now just go to your BoxPress export folder in the Finder, select all, and drag the files and directories into your Cyberduck window:


That’s it! Now visit your website in your web browser.